


一、httpd服务器的基本配置
1、Web站点的部署过程
1、配置并启动httpd服务
配置httpd服务
# vim /usr/local/apache/conf/httpd.conf
ServerName www.csnd.com:80
对配置内容进行语法检查
# apachectl -t
Syntax OK
启动httpd服务
# systemctl start httpd
# netstat -anpt | grep httpd
tcp6       0      0 :::80                   :::*                    LISTEN      40420/httpd
2、部署网页文档
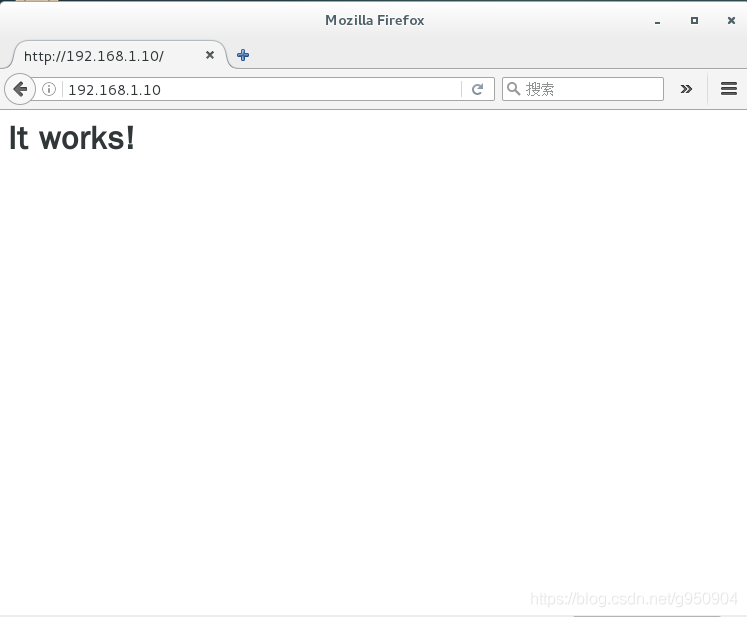
# cat /usr/local/apache/htdocs/index.html
<html><body><h1>It works!</h1></body></html>
3、在客户机中访问Web站点
4、查看Web站点的访问情况
# tail /usr/local/apache/logs/access_log
192.168.1.10 - - [01/Jun/2020:15:35:49 +0800] "GET / HTTP/1.1" 200 45
192.168.1.10 - - [01/Jun/2020:15:35:49 +0800] "GET /favicon.ico HTTP/1.1" 404 209
2、httpd.conf配置文件
1、全局配置项
# vim /usr/local/apache/conf/httpd.conf
ServerRoot "/usr/local/apache"                 # 设置httpd服务器的根目录。默认情况下,httpd服务器的根目录为httpd的安装目录。
Listen 80                 # 设置httpd服务器监听的网络端口号,默认为80
User daemon                 # 设置运行httpd进程时的用户身份,默认为daemon
Group daemon                 # 设置运行httpd进程时的组身份,默认为daemon
ServerAdmin webmaster@csdn.com                 # 设置httpd服务器的管理员E-mail地址,可以通过此E-mail地址及时联系Web站点的管理员
ServerName www.csdn.com                 # 设置Web站点的完整主机名(主机名+域名)
DocumentRoot "/usr/local/apache/htdocs"                # 设置网站根目录,即网页文档在系统中的实际存放路径
Directoryindex index.html index.php                 # 设置网站的默认索引页(首页),可以设置多个首页文件,以空格分开,默认的首页文件为index.html.
ErrorLog "logs/error_log"                 # 设置错误日志文件的路径,默认路径为logs/error_logo
LogLevel warn                 # 设置记录日志的级别,默认级别为warn(警告)
CustomLog "logs/access_log" common                 # 设置访问日志文件的路径、日志类型
PidFile "logs/httpd.pid"                 # 设置用于保存httpd进程号(PID)的文件
AddDefaultCharset UTF-8                 # 设置站点中的网页默认使用的字符集编码,如utf-8、gb2312等
Include conf/extra/httpd-default.conf                # 包含另一个配置文件的内容
2、区域配置项
<Directory />
    Options Indexes FollowSymLinks                # 控制选项,允许使用符号链接
    AllowOverride none                 # 不允许隐含控制文件中的覆盖配置
    Require all denied                 # 禁止任何人访问此区域
</Directory>
二、httpd服务的访问控制
1、客户机地址限制
# vim /usr/local/apache/conf/httpd.conf
<Directory "/usr/local/apache/htdocs">
    #
    # Possible values for the Options directive are "None", "All",
    # or any combination of:
    #   Indexes Includes FollowSymLinks SymLinksifOwnerMatch ExecCGI MultiViews
    #
    # Note that "MultiViews" must be named *explicitly* --- "Options All"
    # doesn't give it to you.
    #
    # The Options directive is both complicated and important.  Please see
    # http://httpd.apache.org/docs/2.4/mod/core.html#options
    # for more information.
    #
    Options Indexes FollowSymLinks

    #
    # AllowOverride controls what directives may be placed in .htaccess files.
    # It can be "All", "None", or any combination of the keywords:
    #   AllowOverride FileInfo AuthConfig Limit
    #
    AllowOverride None

    #
    # Controls who can get stuff from this server.
    #
    Require all granted
</Directory>
# systemctl restart httpd
| 字段 | 说明 |
|---|---|
| Require all granted | 表示允许所有主机访问 |
| Require all denied | 表示拒绝所有主机访问 |
| Require local | 表示仅允许本地主机访问 |
| Require [not] host〈主机名或域名列表〉 | 表示允许或拒绝指定主机或域访问 |
| Require [not] ip<ip地址或网段列表〉 | 表示允许或拒绝指定P地址或网段访问 |
(1)只希望IP地址为173.17.17.173的主机能够访问/usr/local/apache/htdocs网页目录下的网页内容
Require ip 173.17.17.173
(2)只希望禁止来自两个内网网段192.168.0.0/24和 192.168.1.0/24的主机访问,但允许其他任何主机访问
Require all granted
Require not ip 192.168.0.0/24 192.168.1.0/24
2、用户授权限制
1、创建用户认证数据文件
新建数据文件/usr/local/apache/conf/.awspwd,其中包含一个名为webadmin的用户信息
# cd /usr/local/apache/
# bin/htpasswd -c /usr/local/apache/conf/.awspwd webadmin
New password:
Re-type new password:
Adding password for user webadmin
# cat /usr/local/apache/conf/.awspwd
webadmin:$apr1$y4m4WWpU$KgA4ZB5wlQgjPOdrEIxwo1
添加一个新用户zhangsan
# bin/htpasswd /usr/local/apache/conf/.awspwd zhangsan
New password:
Re-type new password:
Adding password for user zhangsan
# cat /usr/local/apache/conf/.awspwd
webadmin:$apr1$y4m4WWpU$KgA4ZB5wlQgjPOdrEIxwo1
zhangsan:$apr1$.6GiuPa6$klmZ81AiYEHGDfORn5IFs/
2、添加用户授权配置
# vim /usr/local/apache/conf/httpd.conf
<Directory "/usr/local/apache/htdocs">
#
# Possible values for the Options directive are "None", "All",
# or any combination of:
# Indexes Includes FollowSymLinks SymLinksifOwnerMatch ExecCGI MultiViews
#
# Note that "MultiViews" must be named *explicitly* --- "Options All"
# doesn't give it to you.
#
# The Options directive is both complicated and important. Please see
# http://httpd.apache.org/docs/2.4/mod/core.html#options
# for more information.
#
Options Indexes FollowSymLinks
#
# AllowOverride controls what directives may be placed in .htaccess files.
# It can be "All", "None", or any combination of the keywords:
# AllowOverride FileInfo AuthConfig Limit
#
AllowOverride None
#
# Controls who can get stuff from this server.
#
Require all denied //拒绝所有主机访问
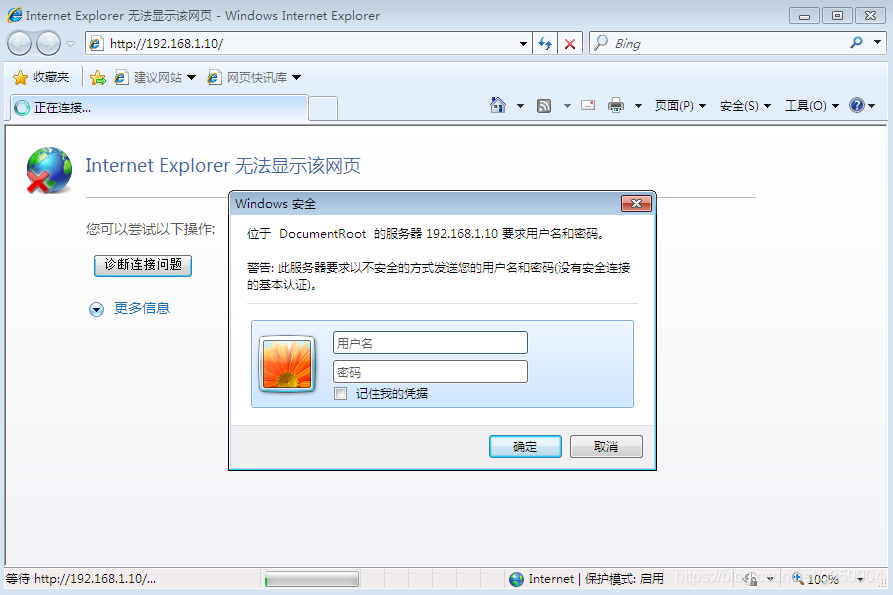
AuthName " DocumentRoot " //定义受保护的领域名称,该内容将在浏览器弹出的认证对话框中显示
AuthType Basic //设置认证的类型,Basic表示基本认证
AuthUserFile /usr/local/apache/conf/.awspwd //设置用于保存用户账号、密码的认证文件路径
Require valid-user //要求只有认证文件中的合法用户才能访问。其中,valid-user表示所有合法用户,若只授权给单个用户,可改为指定的用户名(如webadmm)
</Directory>
# systemctl restart httpd
重新启动服务后访问
三、构建虚拟Web主机
-
基于域名:为每个虚拟主机使用不同的域名,但是其对应的IP地址是相同的。
-
基于IP地址:为每个虚拟主机使用不同的域名,且各自对应的P地址也不相同。
-
基于端口:这种方式并不使用域名、IP地址来区分不同的站点内容,而是使用了不同的TCP 端口号,因此用户在浏览不同的虚拟站点时需要同时指定端口号才能访问。
安装DNS服务
# yum -y install bind bind-chroot
1、基于域名的虚拟主机
1、为虚拟主机提供域名解析
# vim /etc/named.conf
options {
        listen-on-v6 port 53 { ::1; };
        directory       "/var/named";
        dump-file       "/var/named/data/cache_dump.db";
        statistics-file "/var/named/data/named_stats.txt";
        memstatistics-file "/var/named/data/named_mem_stats.txt";
        recursing-file  "/var/named/data/named.recursing";
        secroots-file   "/var/named/data/named.secroots";
......
zone "." IN {
        type hint;
        file "named.ca";
};
zone "web1.com" IN {
        type master;
        file "web1.com.zone";
};
zone "web2.com" IN {
        type master;
        file "web2.com.zone";
};
include "/etc/named.rfc1912.zones";
include "/etc/named.root.key";
# vim /var/named/web1.com.zone
$ttl    86400
@       in      soa     web1.com.      admin.web1.com.        (
        20200601
        3h
        15m
        1w
        1d
)
        in      ns      ns1.web1.com.
ns1     in      a       192.168.1.10
www     in      a       192.168.1.10
# vim /var/named/web2.com.zone
$ttl    86400
@       in      soa     web2.com.      admin.web2.com.        (
        20200601
        3h
        15m
        1w
        1d
)
        in      ns      ns1.web2.com.
ns1     in      a       192.168.1.10
www     in      a       192.168.1.10
重启服务
# systemctl restart named
2、为虚拟主机准备网页文档
# mkdir -p /var/www/html/web1
# mkdir -p /var/www/html/web2
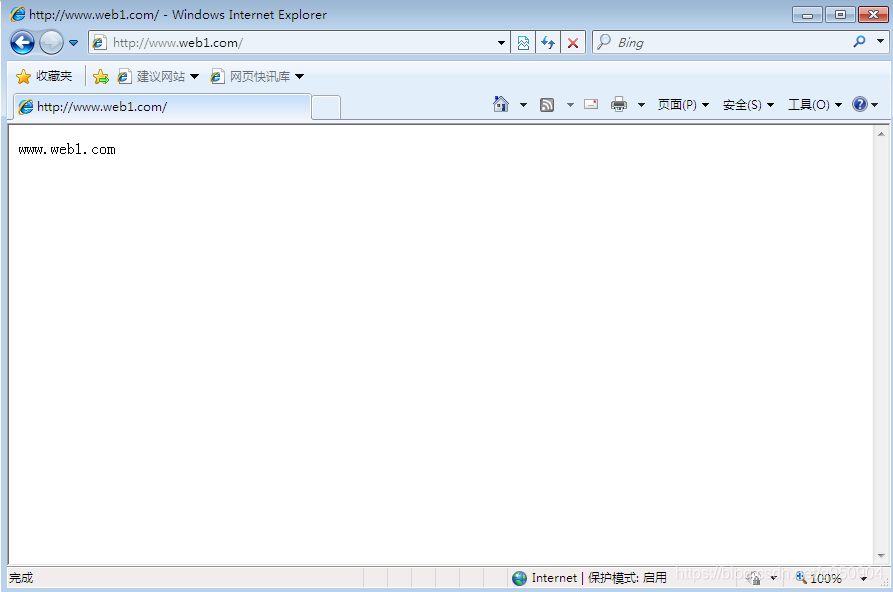
# echo "www.web1.com" > /var/www/html/web1/index.html
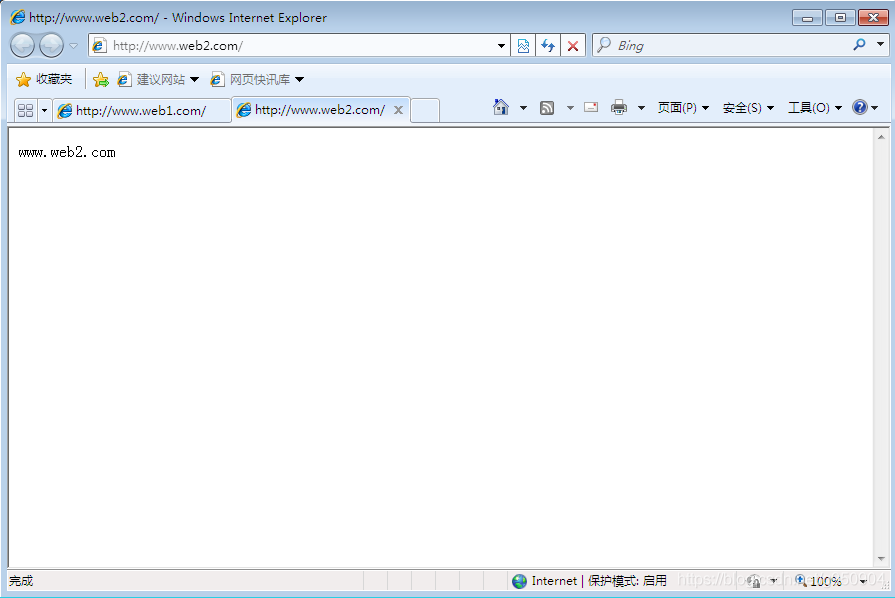
# echo "www.web2.com" > /var/www/html/web2/index.html
3、添加虚拟主机配置
# vim /usr/local/apache/conf/extra/httpd-vhosts.conf                 //创建独立的配置文件
#设置web1虚拟站点区域
<VirtualHost *:80>
    ServerAdmin webmaster@web1.com
    DocumentRoot "/var/www/html/web1"
    ServerName www.web1.com
    ErrorLog "logs/www.web1.com.error_log"
    CustomLog "logs/www.web1.com.access_log" common
    #设置目录访问权限
    <Directory "/var/www/html">
       Require all granted
    </Directory>
</VirtualHost>
#设置web2虚拟站点区域
<VirtualHost *:80>
    ServerAdmin webmaster@web2.com
    DocumentRoot "/var/www/html/web2"
    ServerName www.web2.com
    ErrorLog "logs/www.web2.com.error_log"
    CustomLog "logs/www.web2.com.access_log" common
    <Directory "/var/www/html">
       Require all granted
    </Directory>
</VirtualHost>
# vim /usr/local/apache/conf/httpd.conf                 //加载独立的配置文件
Include conf/extra/httpd-vhosts.conf
# systemctl restart httpd                 //重启服务使新配置生效
4、在客户机中访问虚拟Web主机
2、基于IP地址的虚拟主机
# cp ifcfg-ens33 ifcfg-ens33:0
# vim ifcfg-ens33:0                 //修改IP地址
# systemctl restart network
# vim /usr/local/apache/conf/extra/httpd-vhosts.conf
<VirtualHost 192.168.1.10:80>
    ServerAdmin webmaster@web1.com
    DocumentRoot "/var/www/html/web1"
    ServerName www.web1.com
    ErrorLog "logs/www.web1.com.error_log"
    CustomLog "logs/www.web1.com.access_log" common
    <Directory "/var/www/html">
       Require all granted
    </Directory>
</VirtualHost>

<VirtualHost 192.168.1.100:80>
    ServerAdmin webmaster@web2.com
    DocumentRoot "/var/www/html/web2"
    ServerName www.web2.com
    ErrorLog "logs/www.web2.com.error_log"
    CustomLog "logs/www.web2.com.access_log" common
    <Directory "/var/www/html">
       Require all granted
    </Directory>
</VirtualHost>
# vim /usr/local/apache/conf/httpd.conf                 //加载独立的配置文件
Include conf/extra/httpd-vhosts.conf
# systemctl restart httpd                 //重启服务使新配置生效
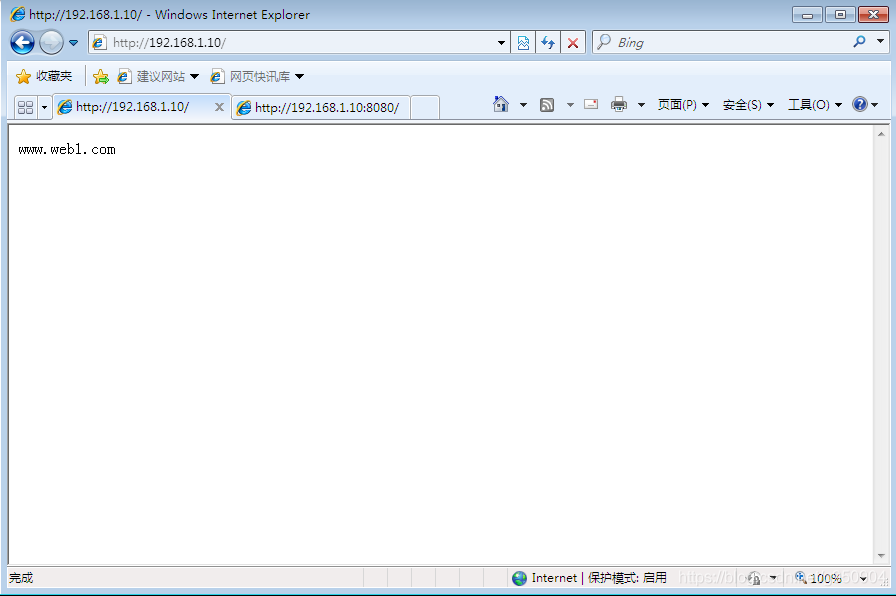
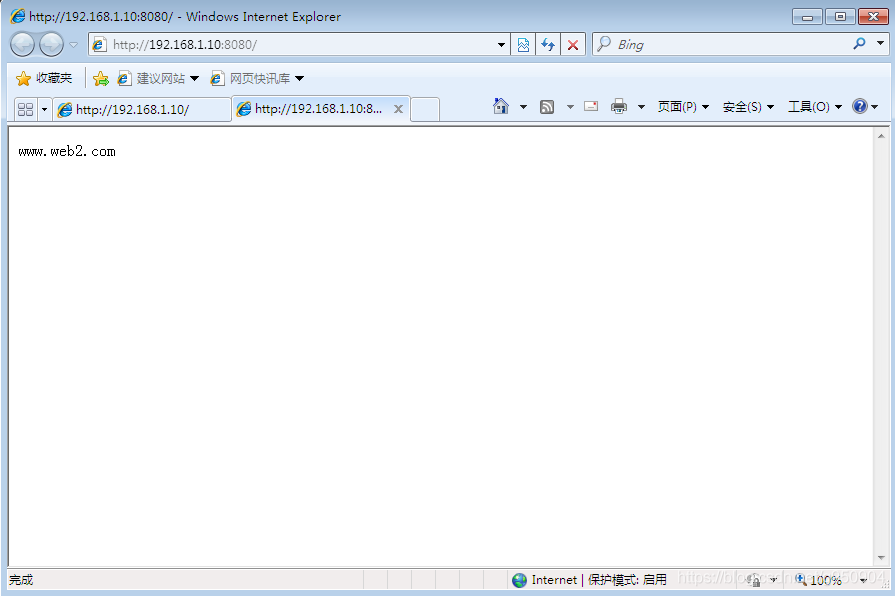
3、基于端口的虚拟主机
# vim /usr/local/apache/conf/extra/httpd-vhosts.conf
<VirtualHost 192.168.1.10:80>
    ServerAdmin webmaster@web1.com
    #正常访问的网站目录
    DocumentRoot "/var/www/html/web1"
    ServerName www.web1.com
    ErrorLog "logs/www.web1.com.error_log"
    CustomLog "logs/www.web1.com.access_log" common
    <Directory "/var/www/html">
       Require all granted
    </Directory>
</VirtualHost>

<VirtualHost 192.168.1.10:8080>
    ServerAdmin webmaster@web2.com
    #后台管理系统的网站目录
    DocumentRoot "/var/www/html/web2"
    ServerName www.web2.com
    ErrorLog "logs/www.web2.com.error_log"
    CustomLog "logs/www.web2.com.access_log" common
    <Directory "/var/www/html">
       Require all granted
    </Directory>
</VirtualHost>
Listen 80                 //监听80端口
Listen 8080                 //监听8080端口
# vim /usr/local/apache/conf/httpd.conf                 //加载独立的配置文件
Include conf/extra/httpd-vhosts.conf
# systemctl restart httpd                 //重启服务使新配置生效
在客户机中访问虚拟Web主机
评论区